We start one step at a time!
1. Set Up Your CRM Workspace
If you don't use a CRM, skip to Step 2.
smrtPhone is constantly growing, and that means we integrate with more CRM platforms and partners every year. The first step to setting up a smrtPhone account with your CRM is to ensure your CRM is prepared to connect.
See a list of CRMs smrtPhone connects to ⇢
If you are connecting smrtPhone to your CRM, you must have:
An active CRM account
Administrative rights to your CRM account
Contacts within your CRM that smrtPhone can connect with
Phone Number fields that are set as a phone number type (not text)
Podio Users: Along with administrative rights, you must have a Paid Podio Plan.
2. Complete the Start Free Trial Form
All new smrtPhone accounts start in Trial. You can activate at any time within the first 14 days. Many clients skip the trial's limitations and go straight into a full subscription. It's up to you! But the initial step is always the same: completing the form.
Go to the Start Trial form on smrtphone.io and click on the black Try for free button. Start completing the form. The first step is to enter your email in this tab.
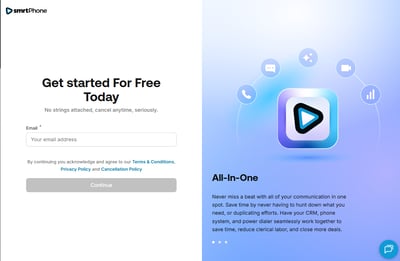
Make sure to review our Terms & Conditions and Refund Policy before submitting.
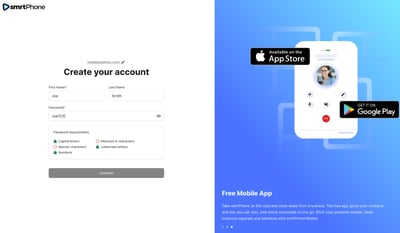
The next step is to create your account by filling in the First and Last name boxes and the password you will use to log in. Then click Continue.
You can tell us your intentions with smrtPhone by choosing how you will use the system or click Skip.
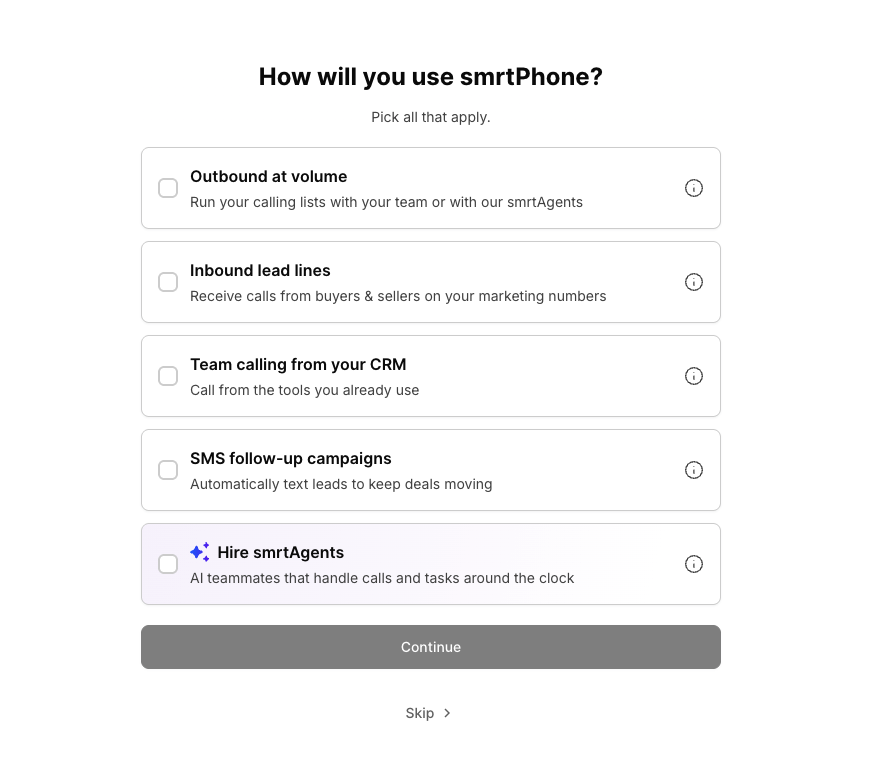
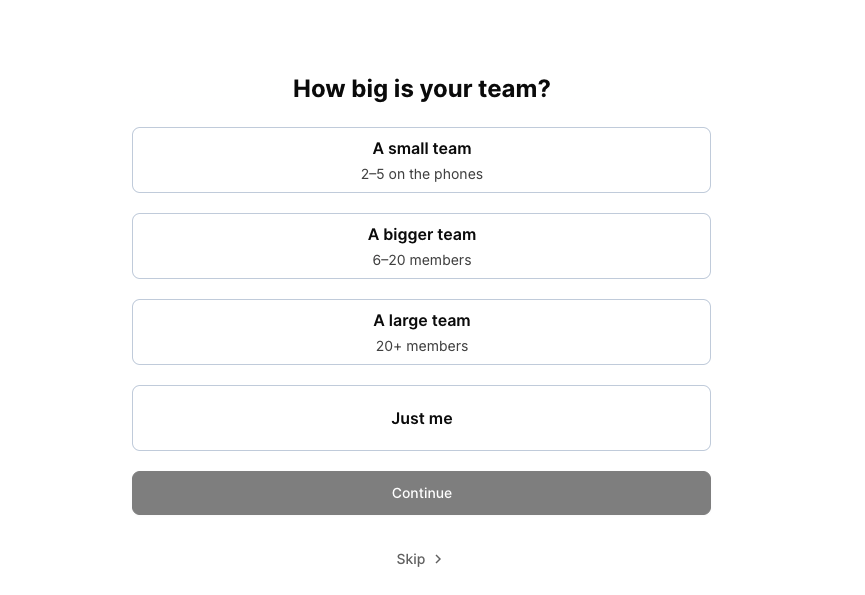
You can also tell us how big is your team.
Also, for better communication, please provide a personal phone number so we can reach you.
4. Select a smrtPhone Plan
Your smrtPhone trial is free for 14 days. When starting your trial, you’ll select the subscription plan you want to use once the trial ends.
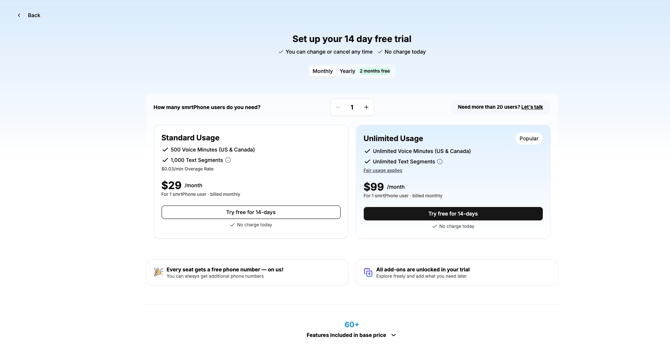
You can activate your paid subscription at any time during the trial. Otherwise, your selected plan will automatically activate when the trial ends, unless you cancel beforehand.
If you choose annual billing, you’ll receive 2 months free.
To start your trial, you’ll need to add a valid credit card. You won’t be charged a subscription fee during the free trial. If you cancel before the trial ends, you won’t be charged a subscription fee.
To learn more about smrtPhone plans and pricing, check out our Website or Pricing article ⇢
Once you’ve selected your plan:
- Complete the required information and add your card details.
- Click Start 14-day free trial.
- You’ll receive your first phone number to use during the trial. If you’d prefer a different number, click Edit and search for another available number.
- Verify your email address using the verification email we send you. You can also complete this step later.
For your first smrtPhone login, use the email address you registered with and the password you received. After logging in, you can create your own smrtPhone credentials or use your CRM credentials, depending on your CRM.
5. Complete the Dashboard checkbox
Tip: For a smoother setup, stay logged in to both your CRM and email account. You can create your smrtPhone account from a browser on any device, as long as you have access to everything you need.
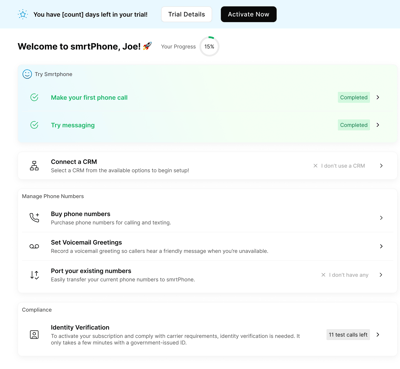
For a proper first experience, you can now have all the tools to try the system. So, go for it, Make your first phone call, Try messaging using a sample conversation, Connect a CRM (if the case), Set a voicemail greeting, Port your phone numbers if you previously used another platform, Verify your identity (if you didn't do it already), and set up and register for Trust Center and A2P 10DLC.
You can check your progress directly in your dashboard, to see what's left to be done. 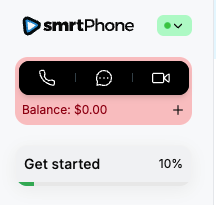
Connect your CRM
One of the steps in the checkbox in your dashboard is to connect your CRM, if you use one, so now it's time to do it! Select the Start Setup button.

If you mistakenly picked another CRM, you can press Show all options and they will be all visible for you to pick the right one.

Once you begin the setup, you might need to select Grant Access so that smrtPhone can sync contacts, call notes, and other important communication activity from your CRM.
For some CRMs, this is the point when you connect via the API Key found in your CRM. Investorfuse, REISift, Forefront and Tape CRM are required to provide the API Key. If your CRM uses API Token, now is the time to grab it from your CRM and insert it in the second step of the account creation.

Learn more about where to find your API Key ⇢
3.1. Standalone (No CRM) smrtPhone Account
If you don't have a CRM, we recommend scheduling a meeting with our Success Team to understand why a CRM might be useful and how to manage a smrtPhone Account without a CRM, or move on with the configuration by selecting smrtPhone Standalone.
There are a few small differences when creating the Standalone smrtPhone accounts and all the setup details can be found in the article here: Create an account without a CRM ⇢
For the best experience, please use the default templates when creating a standalone smrtPhone account.
3.2. Sync Contacts - only for Podio, Salesforce, and Tape Users
Once you've authorized smrtPhone to access your CRM system, you will identify where your Contacts live. Use the drop-down menus to set where your contacts' information resides and follow any prompts to map appropriate fields.
🌐 Podio and 📼 Tape
The sync part of the account creation is crucial for your data syncing. Start selecting the Organization, Workspace and App you consider useful for your account.

Name and Phone Number are required, but you can include additional fields depending on your CRM. Select Save and Continue.

☁️ Salesforce
At this point you choose what contacts app you need to be synced with your smrtPhone account. There are 4 possible options and you can choose as many as you want. Each app comes with its own customizing fields.

If you pick just one or if you later decide to change, add, or remove one, you can do it from the Setup Page in your Admin's smrtPhone Dashboard.
Now, smrtPhone will begin the syncing process. If your Contacts database is large, this may take a few minutes.
4. Install or Customize Integration
Some integrations might have different setups because smrtPhone always tries to meet partners' needs.
4.1. Install smrtPhone Apps - Podio & Tape Users Only
For Podio and Tape users, smrtPhone requires a Communications App to be installed into your workspace that will enable call, text, and voicemail tracking. Using the dropdown menu, select the same workspace in which your Contacts App resides.
-1.png?width=400&height=451&name=image+(2)-1.png)
Since your CRMs require some extra customization, you might want to check the dedicated collections: Podio & Tape ⇢
4.2. Customize the Integration - Salesforce Users Only
Salesforce users need to customize the integration with smrtPhone by making some choices that can be later changed from the Setup Page.
They need to add the Company address and to configure the basic setup, as options for Tasks or Call Statuses.
5. Do a Happy Dance 🕺
Congrats! You have now successfully created a smrtPhone account. Add some credit on your account to purchase a phone number and become familiar with the system.
Here are some ideas of what to do next:
-
Install the smrtPhone Chrome Extension ⇢
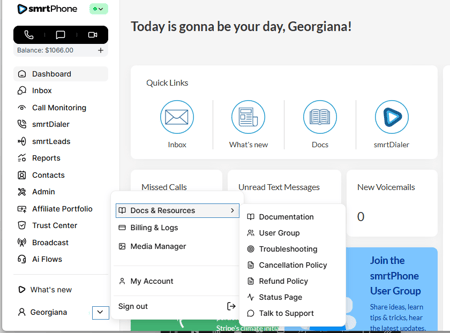
If you need more information, you can access our Support and Help Documentation from the side panel. Click on the arrow next to your name, and full menus will open side by side, just right for you to find what you need.